
Starting New Project 2022
Time to start a new project - frequently while at work after finishing a piece of work it strikes me that this would make a great blog post. While I can’t directly write about what I do at work, I realized I can spin up a similar project on my own time and not risk giving anything away. So here we are.
I am starting now on my new laptop so I really have to start from scratch, took me longer than I wanted this morning just to get the first word. This is a Windows laptop so as you probably know it does not play as well with tech tools as you would think. Having to install and use Git bash just to get use Git, that’s crazy. Hard pass, my preferred approach is to containerize your tools. Create a working environment that you can jump into and always has the required tools.
The benefit to this approach when working within a team is that once you are all on the same container you all get the same work experience. You get to move passed the problems or it working on your computer but not your colleagues.
So I will start at the start. Let’s build a Centos container and start adding the tools that will be used. The process is really simple and worth learning if you have never tried before.
Download and install Visual Studio Code and Docker Desktop if you are trying to follow along. I will admit I installed Git for Windows and was simply not happy with the experience. I played around with Windows Subsystem for Linux (WSL) but again not happy with the experience compared to working with my work Mac. I am not a Mac fanboy - I can’t argue that the cross compatibility with Linux tools though is powerful. Since most of the tech world runs on Linux, if you want to gain experience with the tools you need to be able to run them. This is why I will run a Linux container on my Windows laptop and I do the same on my work Mac.
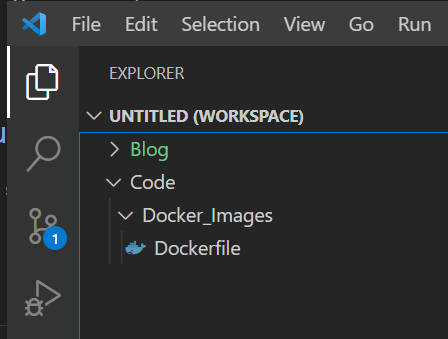
Wherever you keep you files create a new fold, I call my “Code”. In this I create another folder “Docker_Images” because I want to keep all my docker build related files together (it makes relative path references easier). In this folder I create a file called Dockerfile.
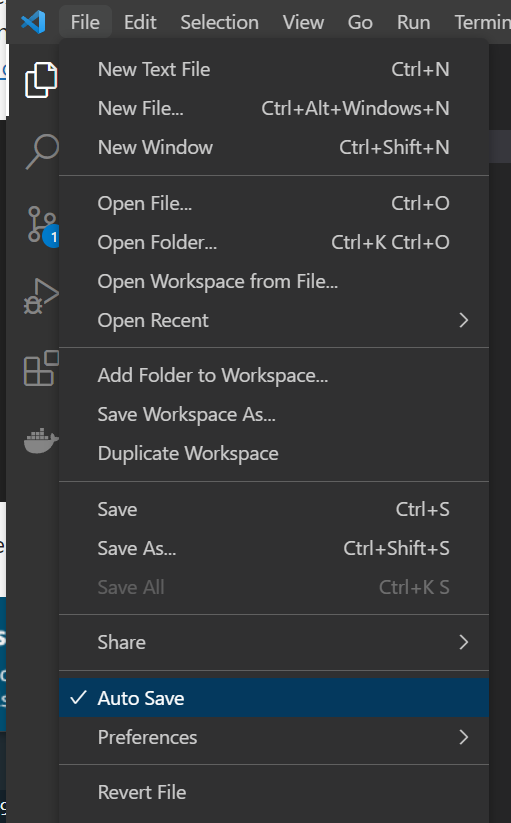 If Visual Studio is a fresh install I recommend turning on “Auto Save” in the settings.
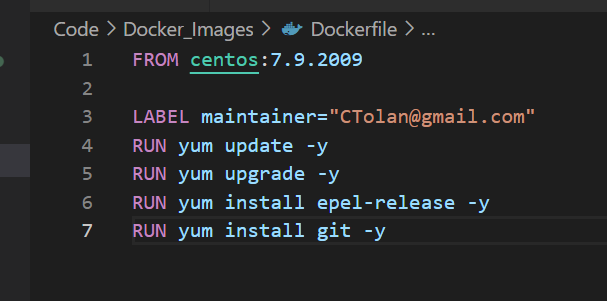
This is the Docker file I created to get me going.
FROM centos:7.9.2009

LABEL maintainer="CTolan@gmail.com"
RUN yum update -y
RUN yum upgrade -y
RUN yum install epel-release -y
RUN yum install git -y
Top line is declaring what base image to start form, this is likely going to be a security hardened image at work, but at home I will use the official image from DockerHub. The label line is not required, but if you are going to do this in work it might be worth keeping for a point of contact. The RUN commands are literally commands that are run building the container the way I want. At this point I want to get Git working, I use Yum commands exactly like I would in a running Centos Virtual Machine. I guess a difference here is that it has to be zero touch, I can not type Y during the install process, I need to pass the “-y” parameter.
The only real addition to this dockerfile versus the off the shelf official image is that I’m adding Git. Sure I could have just run the container docker run --rm -it centos:7 and then installed git manually, but the point here is to setup the processes that’ll add up to a much easier experience when things do get more complicated.
Right so lets build this container. Oh another top tip is to create a permanent scratch file, I have one where I keep all my complex command lines. Working out the correct syntax can take a while, so I like to keep an example of the commands I use so I can quickly use them again in the future. Hence I’ll save this Docker build command.
Docker build -t mycontainer:local .
>>
[+] Building 2.1s (9/10)
 => [internal] load build definition from Dockerfile
 => => transferring dockerfile: 247B
 => [internal] load .dockerignore
 => => transferring context: 2B
 => [internal] load metadata for docker.io/library/centos:7.9.2009
 => [1/5] FROM docker.io/library/centos:7.9.2009
 => CACHED [2/5] RUN yum update -y
 => CACHED [3/5] RUN yum upgrade -y
 => CACHED [4/5] RUN yum install epel-release -y
 => CACHED [5/5] RUN yum install git -y
 => exporting to image
 => => exporting layers
 => => naming to docker.io/library/mycontainer:local
In the terminal of Visual Studio Code I navigate to my Docker_Image folder and could type Docker build ., the . denotes current directory (where Docker will find the Dockerfile). In my Docker build command I included -t mycontainer:local to tag the container after building it. I use local to denote I built it locally versus pulled from a build job. I like to tag containers with the build pipeline number if build in Jenkins for example, others use the Git commit hash but I find it easier to find a container build log by Jenkins build number. It makes it easier to tell which build is newer.
If you read the output you can see the RUN commands being executed exactly as they were written in the Dockerfile.
Next I want to run the container and I want to do a few things at once. Looking at the last line of the build output you see the full reference of the container. So that is how I will reference it.
 docker run --rm --volume="C:\Users\me\Documents\Blog":"/blog" -it docker.io/library/mycontainer:local
 [root@139efa6104cc /]# cd blog/
 [root@139efa6104cc blog]# git version
 git version 1.8.3.1
 [root@139efa6104cc blog]#
- I want to remove the container when I exit so add
--rm. - I want to have an interactive session in the container so add
-it - I want to mount my laptop Blog or Code folder so I use
--volume="laptop_folder":"mount_point_in_container"
As mentioned I will save this command into my scratch file since I will use it all the time. It drops me into the container shell where I can cd to the blog folder which is in shared with my laptop blog folder. Any file already in this folder on my laptop will be available in the container, and any files created or edited in the container folder will be available on my laptop.
The first step I took was to clone down my github blog repository, so I could start writing this post, so if you are reading this, then it worked. There is more I wanted to get to today - I haven’t even started on the Terraform side of things, but this process is foundational to that work so it is important to get it setup on this new laptop. I might re-write this into a proper project description and a separate container setup article but I needed to get Git working first.
P.S. of course I forgot a couple of steps. I didn’t mount my gitconfig (I don’t have one on this laptop) so my git push didn’t work, I really am starting from scratch. Ugh I really want to publish this so I might have to use git bash after all.
Thanks for reading.
Conor
GCP